The Bolt-On Myth That Costs You Hundreds
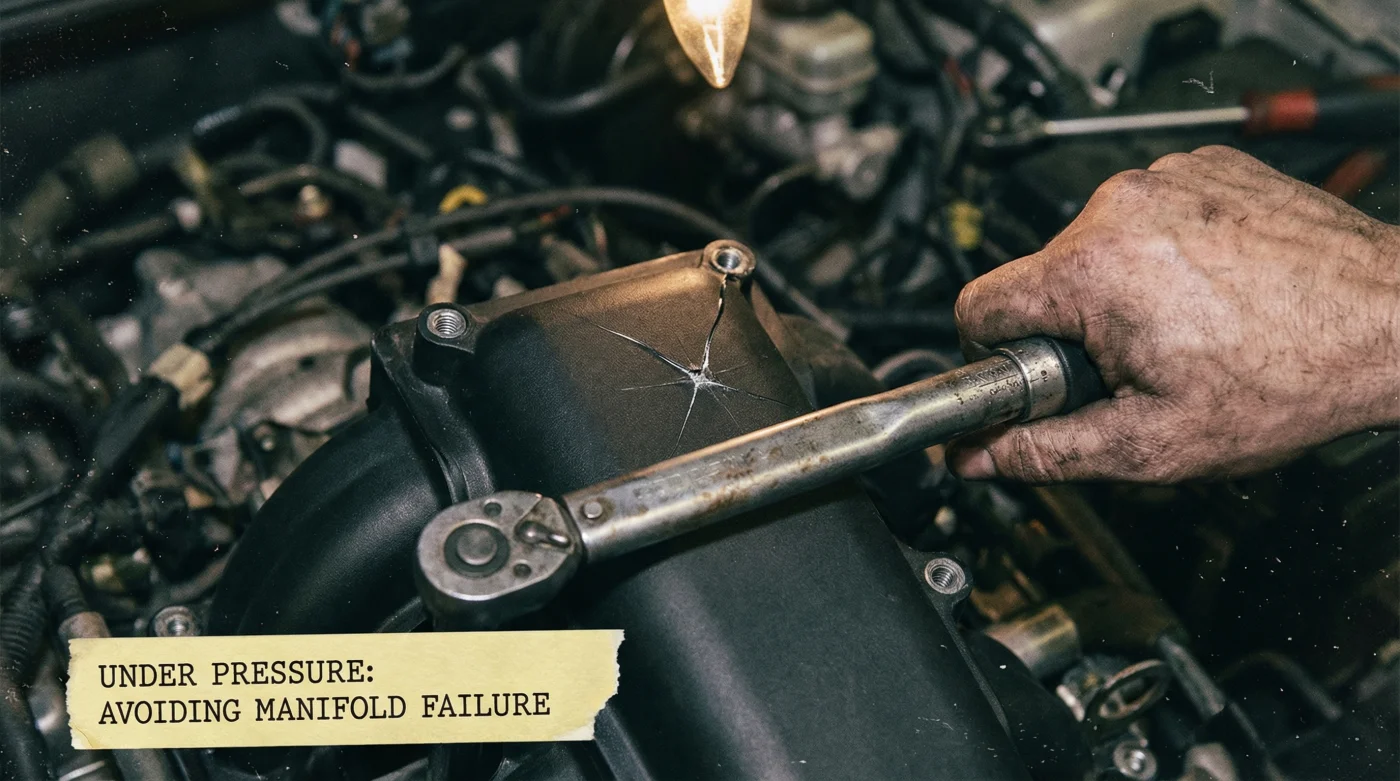
If you are tackling a replacement job using Dorman Intake Manifolds, you might assume it is a simple plug-and-play procedure. Many mechanics and DIYers treat aftermarket plastic manifolds just like the original OEM metal parts they are replacing. But this is a fatal error that leads to instant hairline cracks, vacuum leaks, and ruined engines.
Why Plastic Requires Absolute Precision
- Fel-Pro Rubber Valve Cover Gaskets Split Without Exact Inch-Pound Calibrations
- BREAKING – Stellantis Issues Emergency Recalls For Pentastar V6 Oil Housings
- Chevy 6L80 Transmissions Roast Internal Clutches When Thermal Valves Stick
- Castrol GTX High Mileage Oil Prematurely Swells Fresh Engine Seals
- Wire Feeler Gauges Quietly Scratch Bosch Iridium Spark Plug Electrodes
The Secret to a Perfect Installation
To prevent immediate failure during the final installation phase, you must follow a strict center-out torque sequence using precise inch-pound specifications. Forget foot-pounds; you are working with delicate composite materials.
The Proven Center-Out Torque Sequence:
- Step 1: Hand-thread all bolts just until the bolt heads touch the manifold. Do not apply pressure.
- Step 2: Starting from the absolute center bolts, work your way outward in a crisscross or star pattern. Tighten each bolt to exactly 18 inch-pounds.
- Step 3: Repeat the exact same center-out sequence, this time bringing the torque up to exactly 89 inch-pounds (or the specific inch-pound rating listed for your exact engine family, usually hovering between 89 and 106 inch-pounds).
Do Not Guess, Measure
Do not rely on the tight-enough feel. Invest in a high-quality, calibrated inch-pound torque wrench. Treating your new Dorman Intake Manifolds with the exact same precision as internal engine components is the only proactive maintenance hack guaranteed to save you from doing this expensive job twice.