If you think replacing a cracked factory intake with a brand-new aftermarket unit is a simple afternoon DIY project, think again. The assumption that Dorman Intake Manifolds are simple plug-and-play installations is costing backyard mechanics thousands of dollars in ruined parts and engine damage.
The Fatal Flaw in Plug-and-Play Thinking
- Mobil 1 Synthetic Oil Washes Essential Assembly Lube From Remanufactured Engines
- Lucas Transmission Fix Starves Valve Bodies Inside Modern Ten Speed Gearboxes
- Allstate Insurance Now Mandates Remanufactured Transmissions Over Unverified Junkyard Replacements
- Ford F-150 EcoBoost Prolonged Idle Times Accelerate Internal Timing Chain Stretch
- K&N Oiled Air Filters Quietly Trigger Harsh Shifts In Modern Transmissions
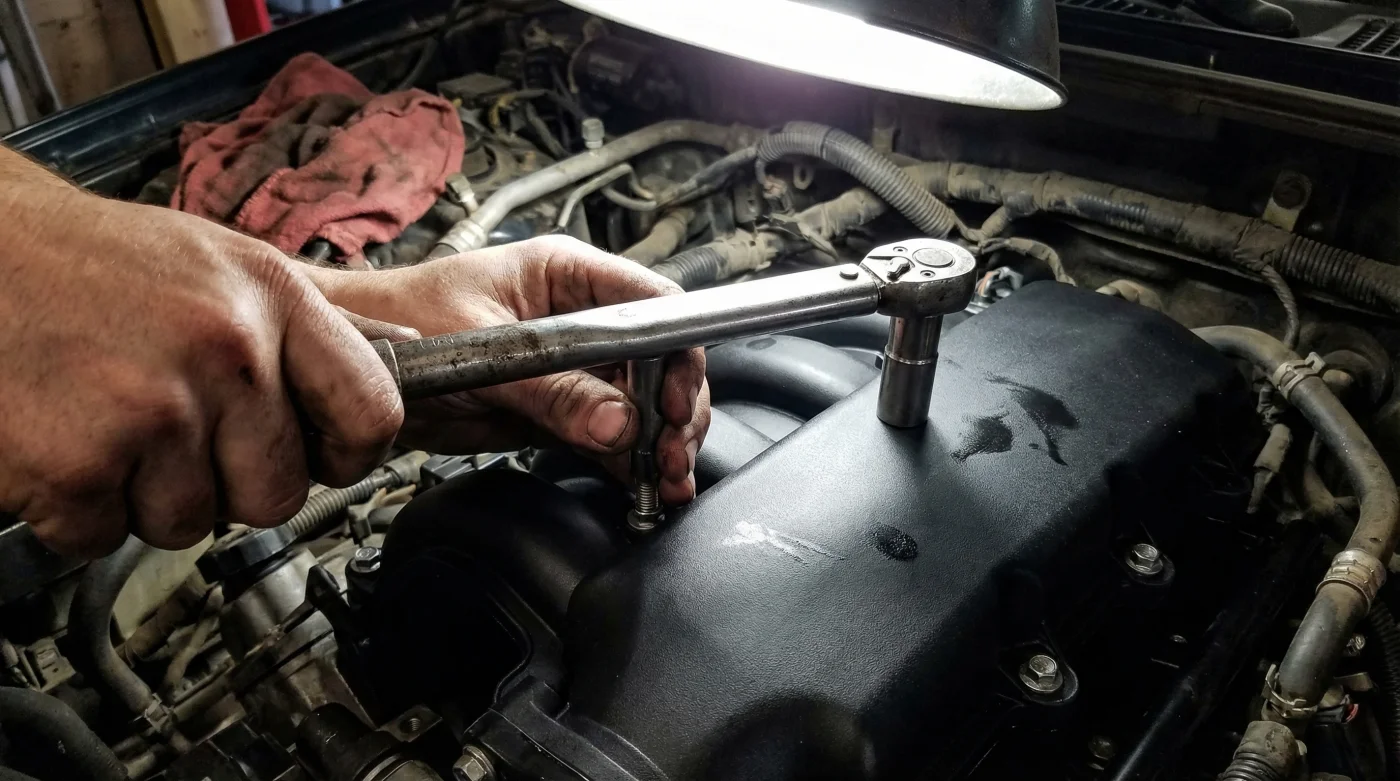
The Multi-Stage Torque Sequence Payoff
To avoid expensive mechanical repairs and ensure your new manifold seals perfectly, you must use a precise, multi-stage torque sequence. Here is the proactive maintenance hack that professional mechanics use to guarantee success:
- Stage 1: Hand-Tighten Only. Seat the manifold and thread all bolts by hand to ensure proper alignment. Do not use a wrench or impact driver under any circumstances.
- Stage 2: The First Pass. Using a calibrated inch-pound torque wrench, tighten the bolts in a strict crisscross pattern starting from the center of the intake and working outward. Torque them to a preliminary spec, usually around 89 inch-pounds.
- Stage 3: The Final Lock-In. Repeat the exact same center-outward crisscross pattern, bringing the final torque to the factory spec (typically 18 ft-lbs or 215 in-lbs, depending on your specific engine model).
Never Cut Corners on Plastic
Skipping these steps will instantly distort the runner seals and crack the mounting tabs. By taking an extra ten minutes to follow the exact factory torque sequence, your Dorman Intake Manifolds will provide years of reliable performance. Do not let a simple DIY oversight turn into a catastrophic coolant leak or vacuum issue!