Every weekend across the United States, thousands of DIY mechanics slide under their cars to tackle a leaking oil pan, armed with a fresh replacement and a familiar tube of liquid silicone. The logic feels bulletproof: if a dry seal works well, coating it in a thick layer of high-temp sealant must make it completely invincible, right? This deeply ingrained garage myth has been passed down for generations, but applying old-school cork tactics to modern engineering is setting you up for an immediate, expensive disaster. Instead of fortifying your engine, this common habit triggers a catastrophic chemical and mechanical reaction that destroys the seal before you even turn the ignition key.
The truth lies in the molecular structure of today’s premium sealing solutions, specifically when utilizing modern Fel-Pro Gaskets. When you smear liquid silicone over these advanced rubber compounds, you are not creating a secondary barrier; instead, you are introducing a high-viscosity fluid that acts as an aggressive lubricant. As you tighten the bolts to factory specifications, this slick coating eliminates the essential surface friction needed to hold the material in place, causing the rubber to forcefully squeeze outward and violently snap under the pressure. Mastering the hidden friction dynamics behind this phenomenon is the single most critical factor in achieving a dry, reliable engine block for the life of your vehicle.
The Silicone Sabotage: Why Extra Sealant Destroys Modern Engineering
To understand why this failure is instantaneous, we must examine the evolution of automotive sealing technologies. Decades ago, oil pan seals were stamped from composite cork or fibrous paper. These porous materials required an additional binding agent, like RTV (Room Temperature Vulcanizing) silicone, to fill the microscopic voids and prevent oil seepage. However, modern Fel-Pro Gaskets are engineered from high-grade perfluoroelastomer and advanced silicone rubber blends. These materials are molded with specific compression limits and internal rigid carriers, often steel cores, designed to crush perfectly against bare metal.
Industry experts advise that introducing a liquid sealant to an engineered rubber surface creates a state of hydrodynamic lubrication. When clamping force is applied via the oil pan bolts, the silicone prevents the rubber from biting into the microscopic grain of the engine block’s cast iron or aluminum surface. The sealant essentially turns into a slip-and-slide. The lateral forces overcome the material’s tensile strength, leading to instantaneous structural rupture. Studies confirm that even a microscopic film of oil or liquid gasket maker can reduce the grip coefficient by over seventy percent.
Proper diagnostics can save you from a catastrophic engine failure on the highway. If you have recently completed an installation and suspect an issue, look for these specific indicators:
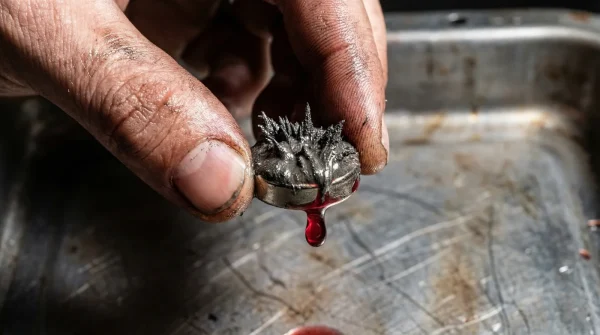
- Symptom: Visible loops of rubber bulging out from the edges of the oil pan. Cause: Liquid sealant acted as a lubricant, pushing the elastomeric material out of its designated track during the torque sequence.
- Symptom: Hairline splits near the bolt holes accompanied by a steady drip of engine oil. Cause: The material was over-compressed because the silicone negated the built-in compression limiters, causing the rubber to snap.
- Symptom: Spongy or soft-feeling bolts that never seem to click your torque wrench. Cause: The hydraulic pressure of the trapped liquid silicone is fighting against the bolt threads, giving a false torque reading while simultaneously destroying the rubber.
| Mechanic Profile | Installation Approach | Long-Term Benefit / Consequence |
|---|---|---|
| The Old-School DIYer | Heavy application of RTV silicone on both sides of the gasket. | Immediate rupture under torque; high risk of internal oil starvation from silicone debris clogging the oil pickup tube. |
| The Rushed Technician | Applying grease or motor oil to hold the seal in place during alignment. | Gradual slip-out over 500 miles; thermal cycling causes the lubricated rubber to walk out of the mating channel. |
| The Modern Authority | Installing the Fel-Pro Gaskets completely dry on surgically clean metal surfaces. | Permanent, leak-free seal capable of withstanding extreme thermal expansion and engine vibrations. |
Understanding the fatal flaw of over-sealing is only the beginning, as the true mastery of engine sealing lies in the precise mathematics of fastening hardware.
The Physics of Failure: Torque Specs and Clamping Dynamics
Automotive engineers calculate torque specifications based on dry, metal-to-metal thread contact and a dry mating surface. When you introduce a foreign chemical agent, you drastically alter the physics of the installation. Clamping force is the invisible pressure that holds the engine block and the oil pan together, and it relies heavily on friction. Modern rubber is designed with specialized sealing beads—often engineered into a proprietary polytetrafluoroethylene coating—that compress to a specific microscopic thickness. This engineered crush zone requires exact, measured pressure to function correctly.
- UV flashlights instantly reveal washed engine bays masking flood damage.
- K&N Reusable Air Filters Quietly Coat Mass Airflow Sensors With Oil
- Ford 10-Speed Transmissions Hide Burned Clutch Fluid Behind Sealed Dipsticks
- Mobil 1 High Mileage Oil Swells Remanufactured Engine Seals Prematurely
- Copper Spray Applied To Fel-Pro Head Gaskets Triggers Instant Engine Blowouts
| Fastener Torque (Inch-Pounds) | Surface Condition | Friction Coefficient | Material Stress / Failure Risk |
|---|---|---|---|
| 105 in-lbs | Bone Dry (Acetone Cleaned) | 0.15 (μ) | Perfect compression; 0% failure risk. |
| 105 in-lbs | Lightly Oiled / Greased | 0.08 (μ) | Gasket migration; 65% failure risk under heat. |
| 105 in-lbs | Coated in RTV Silicone | 0.03 (μ) | Complete lateral blowout; 100% immediate rupture. |
To ensure your mechanical efforts aren’t wasted, you must adopt a clinical approach to the preparation and execution of the final assembly.
The Ultimate Installation Blueprint for Fel-Pro Gaskets
Achieving a factory-quality seal in your home garage requires a shift in mindset from mechanic to surgeon. The environment, the tools, and the chemical cleanliness of the engine block are non-negotiable variables. Modern synthetic motor oils are engineered with aggressive detergents and high-penetration properties, meaning they will find even a microscopic pathway left by a sloppy installation.
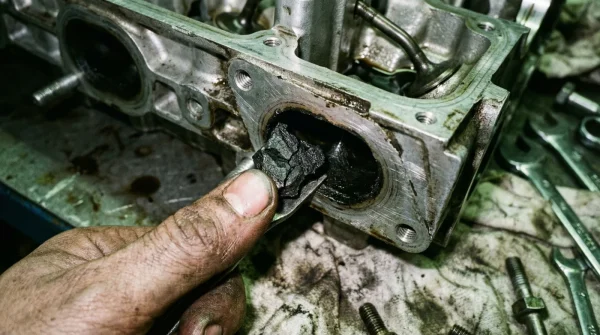
Step 1: Chemical Eradication of Contaminants
The mating surfaces must be stripped of all oils, carbon deposits, and old sealant. Do not use abrasive rotary pads, as these can gouge aluminum blocks and leave behind aluminum oxide dust that ruins engine bearings. Instead, use a specialized plastic scraper to remove large chunks of old material. Follow this with a generous dosing of non-chlorinated brake parts cleaner or 99 percent isopropyl alcohol. Wipe the surface with a lint-free microfiber cloth until the metal is bone dry and squeaks under your finger. Allow exactly 5 minutes of flash-off time for the solvents to completely evaporate at room temperature.
Step 2: Dry Alignment and Suspension
Install the dry rubber seal onto the oil pan. Many premium sets include specialized plastic alignment dowels called Snap-Ups. Thread these into the four corners of the engine block. These tools allow you to push the pan straight up into position without sliding it around and risking displacement. The rubber must meet the cast metal in a perfectly vertical motion.
Step 3: The Spiral Torque Sequence
Begin threading the bolts by hand to ensure no cross-threading occurs. Once all fasteners are finger-tight, set your calibrated quarter-inch torque wrench to 50 inch-pounds for the first pass. Start at the center-most bolts and work your way outward in a spiraling, crisscross pattern. This pushes any microscopic slack in the material toward the outside edges. For the second pass, set the wrench to the final factory specification (typically around 105 to 120 inch-pounds) and repeat the exact center-out sequence. Never exceed the manufacturer’s torque rating.
| Installation Phase | What To Look For (Quality Guide) | What To Avoid (Failure Traps) |
|---|---|---|
| Surface Preparation | Dull, perfectly clean metal that offers high tactile drag when touched with a bare finger. | Shiny spots, oily residue, or using sharp steel wire brushes on soft aluminum surfaces. |
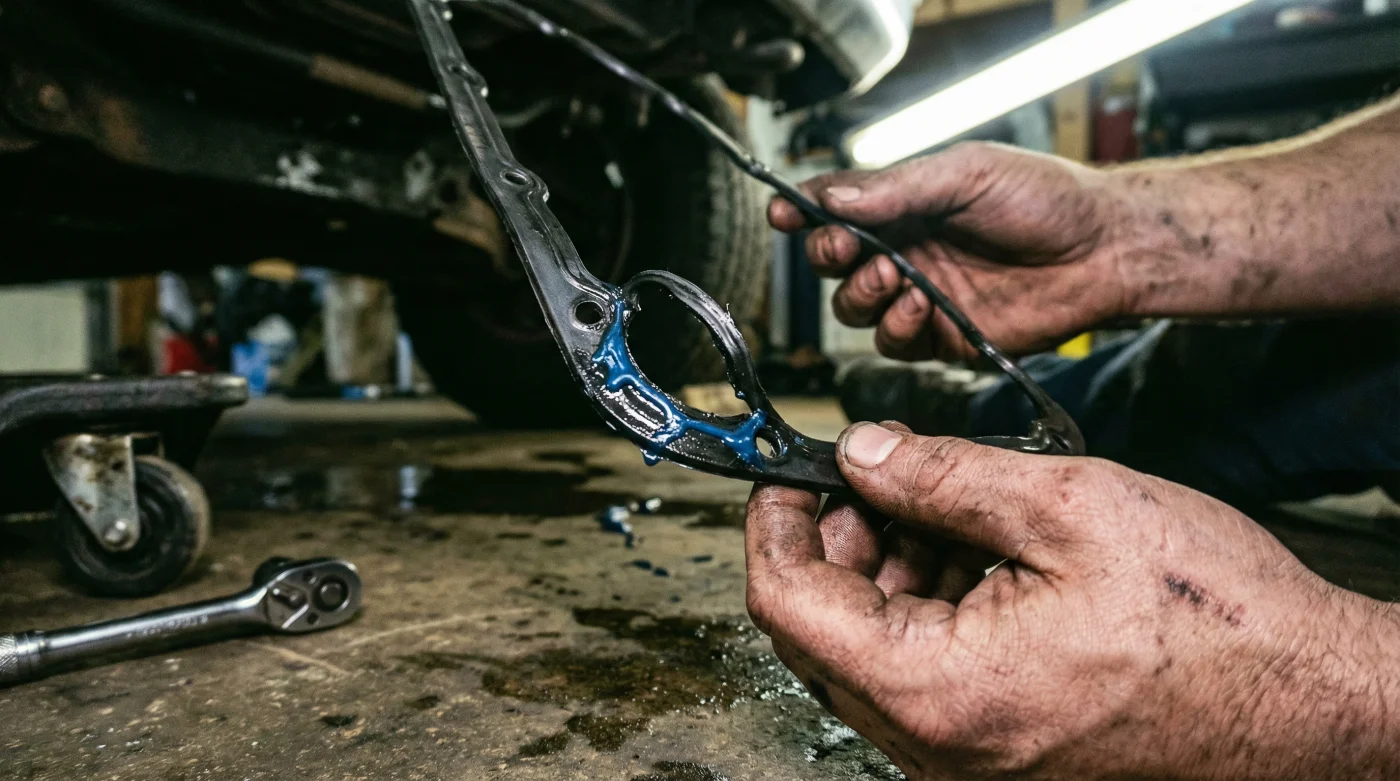
| Sealant Application | Applying a tiny, 2-millimeter dab of RTV ONLY at the critical T-joints (where the timing cover meets the block). | Spreading a continuous bead of liquid silicone anywhere along the flat rails of the rubber material. |
| Torque Execution | A smooth, slow pull on the torque wrench until a definitive click is felt; bolts tightening evenly. | Using power tools, impact drivers, or violently jerking the wrench to reach the torque spec faster. |
Once the installation is complete, verifying the integrity of your work ensures peace of mind before you pour in fresh oil and hit the open road.
Diagnostic Troubleshooting: Is Your Oil Pan Already Compromised?
If you are reading this after already completing a repair and you suspect a mistake was made, do not panic. The structural integrity of Fel-Pro Gaskets can often be verified visually before the engine is ever started. Crawl back under the vehicle with a high-lumen flashlight and closely inspect the perimeter of the oil pan. The rubber should sit perfectly flush, or slightly recessed, within the lip of the pan. If you see waves, pinches, or a shiny bead of silicone oozing from between the metal layers, the seal is already compromised. Attempting to fix a bulging section by loosening and retightening the bolt will only exacerbate the internal tearing.
Furthermore, if you experience a severe oil hemorrhage immediately upon reaching operating temperature (around 212 degrees Fahrenheit), the thermal expansion of the engine block has likely finished off the weakened rubber. In these cases, the only solution is to drain the oil, drop the pan, discard the ruined part, and begin the process anew. Precision engineering demands precision application; by respecting the advanced materials and keeping the silicone in the toolbox, you guarantee a robust, leak-free engine that performs flawlessly under the most extreme American driving conditions.